1. Collecting and cutting material to size

The sheet of aluminium was divided evenly to 2 for 2 pairs, (2 couples).
It is then divided
EVENLY to another 2, for each person in the pair.
Due to the fact that it was divided evenly with equal dimensions, we both will start with aluminium sheets identical in dimensions.
2. Marking and creating the wooden templates


10mm offset was agreed by both as the guide to fold the work-piece and is marked by a sharp object.
Thereafter, a pair of wooden cylindrical wooden templates are produced with 50mm in diameter and is marked from tangents of the 10mm offset.
This concludes the setup for the tray ensuring both of us has the same setup.
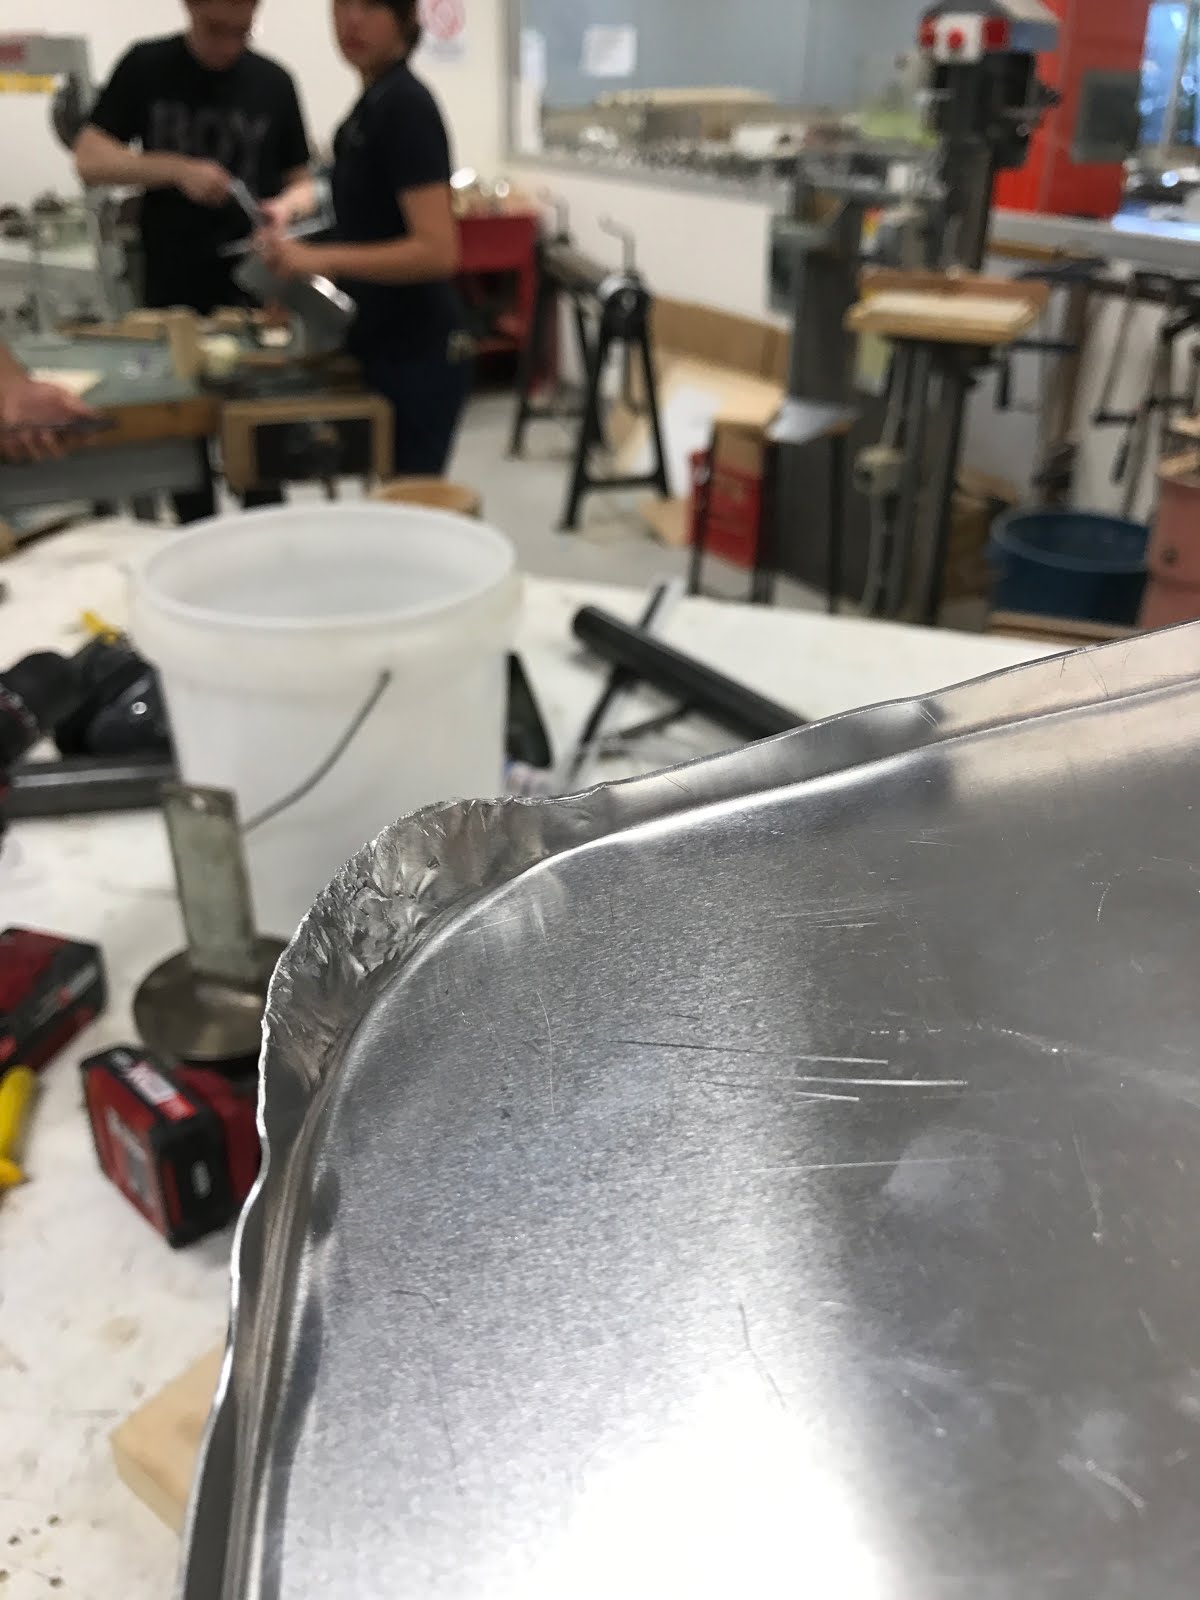
3. Folding the 4 edges


The work piece was clamped down by 2 wooden blocks exposing only the 10mm offset.
It is then hammered using a metal hammer on all 4 corners.
4. Folding the corners

After folding the edges, the 4 corners are folded and stretched with the 50mm diameter wooden template hammering it left to right evenly to ensure stretching to occur only at the middle of the corner. Care was taken not to ripple by prioritising stretching of folded aluminium due to stretching to 1 side.
5. Trimming the stretched corners


The stretched corners were then trim to align with the 10mm edges
6. Pairing and ajusting

The paired work piece were put together and further adjustments were made to ensure they both match


